Shop Categories
Your Reviews
Read More
Trade Account Login
REGISTRATION
And so it's starts....
And so it's starts....
 So I have had my first 1-2-1 metal smithing session, and my attic is all set up with my new jewellers workbench and tools
From my previous posts, about my metal smithing journey, you would have read that I have had my first 1-2-1 metal smithing session, with a fellow handmade jewellery, where I leant some key basics of working with sheet metal, namely sawing, filing, adding textures and oxidising.
And the there was the 3 week delay, before I was able to practice these new skills, as I had to turn my attic into a metal smithing studio by getting a jewellers work bench made and fitting the space out with the various tools and equipment.
I have to admit following the session, I had so many design ideas swirling around my head, and I got really frustrated with the wait for the quipment o be delivery, especially as the first bench pin was damaged, so this delayed things slighly.
But this provided me with the time to ome up with a game plan, w.r.t. how I was going to proceed with my jewellery making.
The most daunting thing, was learning to master sawing through the metal sheet, without breaking the jewellery saw blades, which are so delicate, that literally sneezing at the wrong time can snap them.
So I ordered different thicknesses off cut aluminium, copper, brass and stainless steel sheets to practice on.
I also invested in some basic shape templates, so that this way when I am creating jewellery components, they will all be standard.
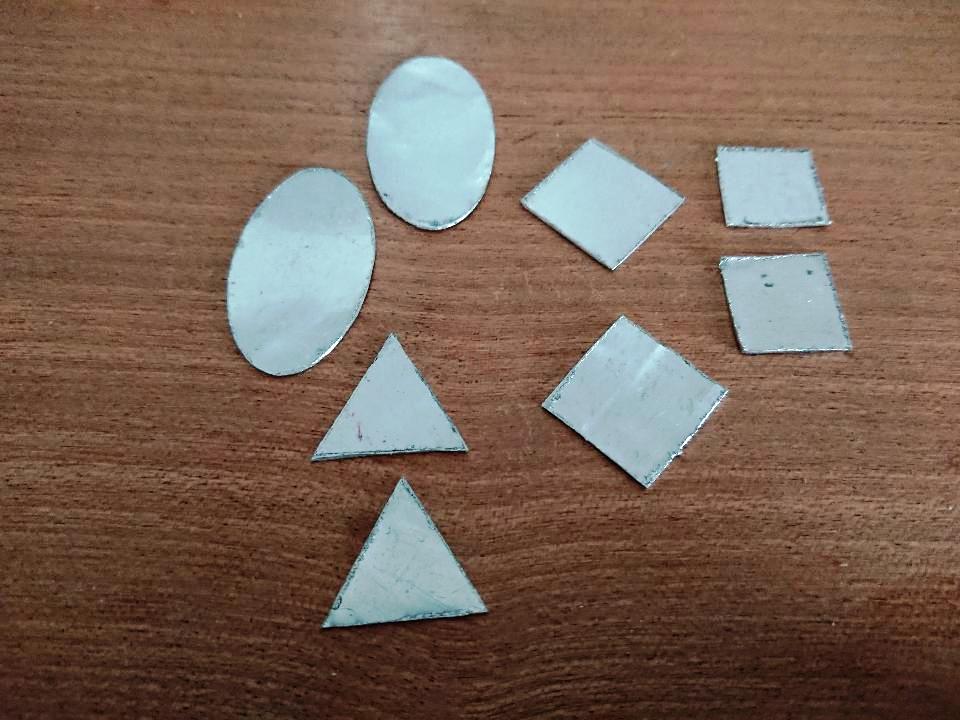
To gain more confidence I started sawing straight lines and squares, initially on 0.3mm, before graduating to triangles and ovals on 0.5mm sheet aluminium:

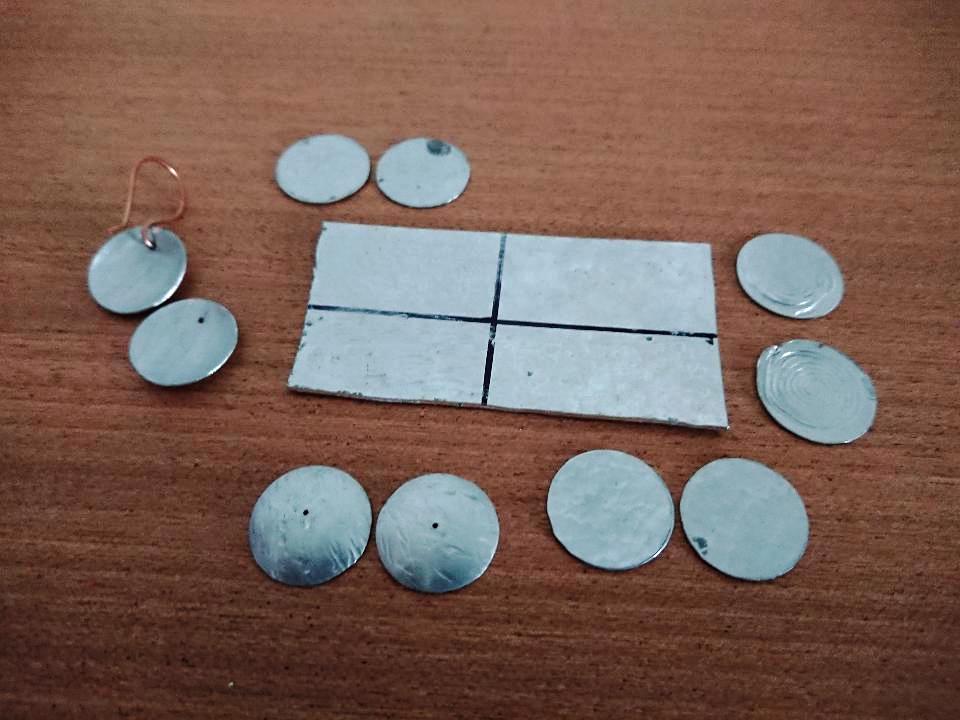
With a collection of shapes, I decided the next thing to move on to is playing around with the new hammers I brought, to see what textures I can add into the mix of my designs, as well as what simple sand papering can add to the mix.
One of things on my metal smithing wish list is a rolling mill, which will allow me to add a myriad of textures to my designs, but in the mean time, I decided to add some texture using formed copper wire with varying success.
I brought a little daping set, so that I can add a bit of shape to the metal componnts, and created these:

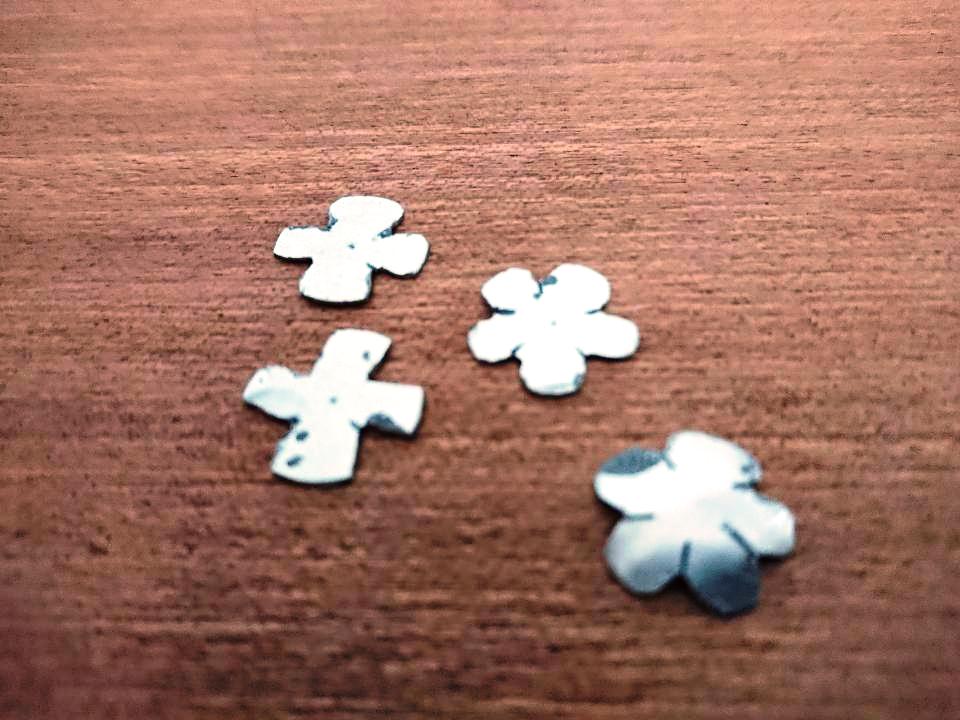
Feeling more confident with my sawing skills, I decided to create some flower shapes, in preparation for creating alternative bead caps for my earrings:

Now you can imagine by now, that I am really confident, that I have this sawing skill licked, and me being the impatient 4 year old that I truly am, I decide it's time to move onto the copper sheet metal.
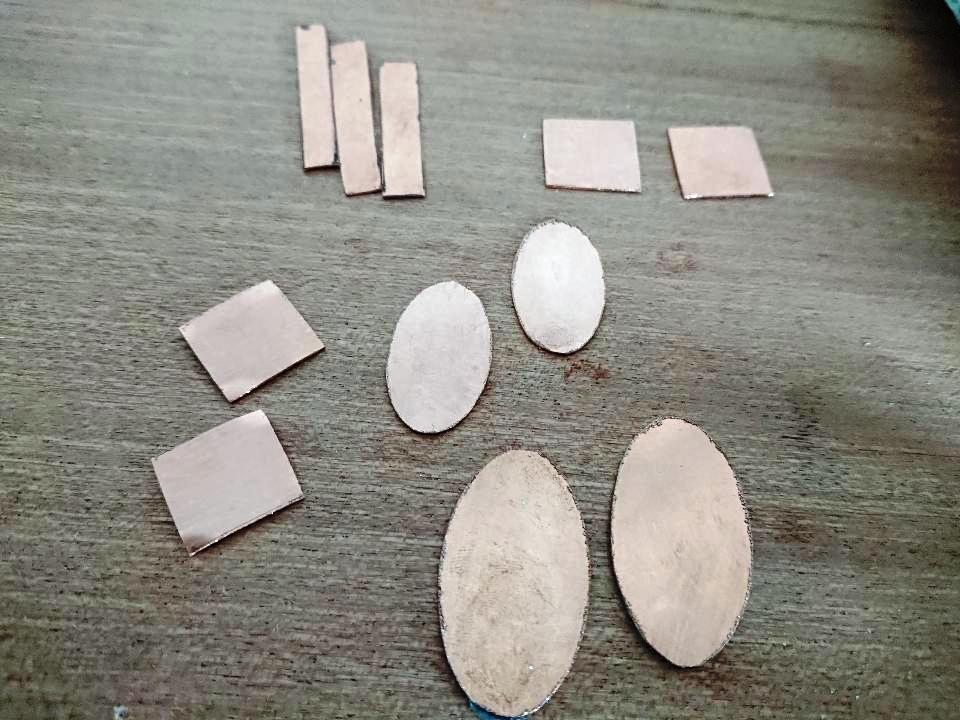
The first thing I realise is that there is a world of difference between sawing through 05mm aliuminium sheet and 0.5mm copper sheet, as I am feeling more resistance as I am sawing through the metal, and I am going through saw blades like they are going out fashion.
But I am nothing if not pesistant, and I check that I am using the correct blades for the thickness of the sheet I am cutting, taking things a bit slower and I seem to be making progress:

I have not fully decieded what I am going to do with these shape, I know ultimately they will end up as components most probably in earrings, but I have not fully decided the finish, texture and/or oxidation.
What would you do with them?
Watch this space to see what becomes of them.....
Joolz xxx
0 Comments


