Metal Smithing here I come part II
Metal Smithing here I come part II

As with most things some metal smithing skills, I had forgotten, but was not too worried as I knew I had another session booked.
I was really looking forward to my next metal smithing session, as this time I wanted to concentrate on gemstone setting and soldering.
Unfortunately due to my monthly visitor from hell, turing in up, I had to postpone that session by a week, but at least I was in the right frame of mind, and it gave me enough time to prepare some aluminum and copper fromts to be turned into studs.
The session started off with gemstone settings, of which there are so many, but in this session we was only going to concentrate on 2:
- Prong setting, and
- Bezel setting
These are some of the pieces that I created during this session.
|
Now to say that my tutor was a sadist, maybe a little unkind, as when he presented me with a shell to set onto an aluminium back, I thought he had misunderstood/misheard that I wanted to learn to gem set.
But his logic, was that I could set something as small and fragile as this shell, under his tutoridge, then everything else is plain sailing..... These was challenging to say the least espically as I had not practice pierce sawing from my last session, that little titbit I kept to myself, and just sawed the prongs in the shape and hoped for the best. 30 minutes later I with a bit of manuipulation of the prongs, I was able to set the shell within the prong setting securely, with only one casualty.
|
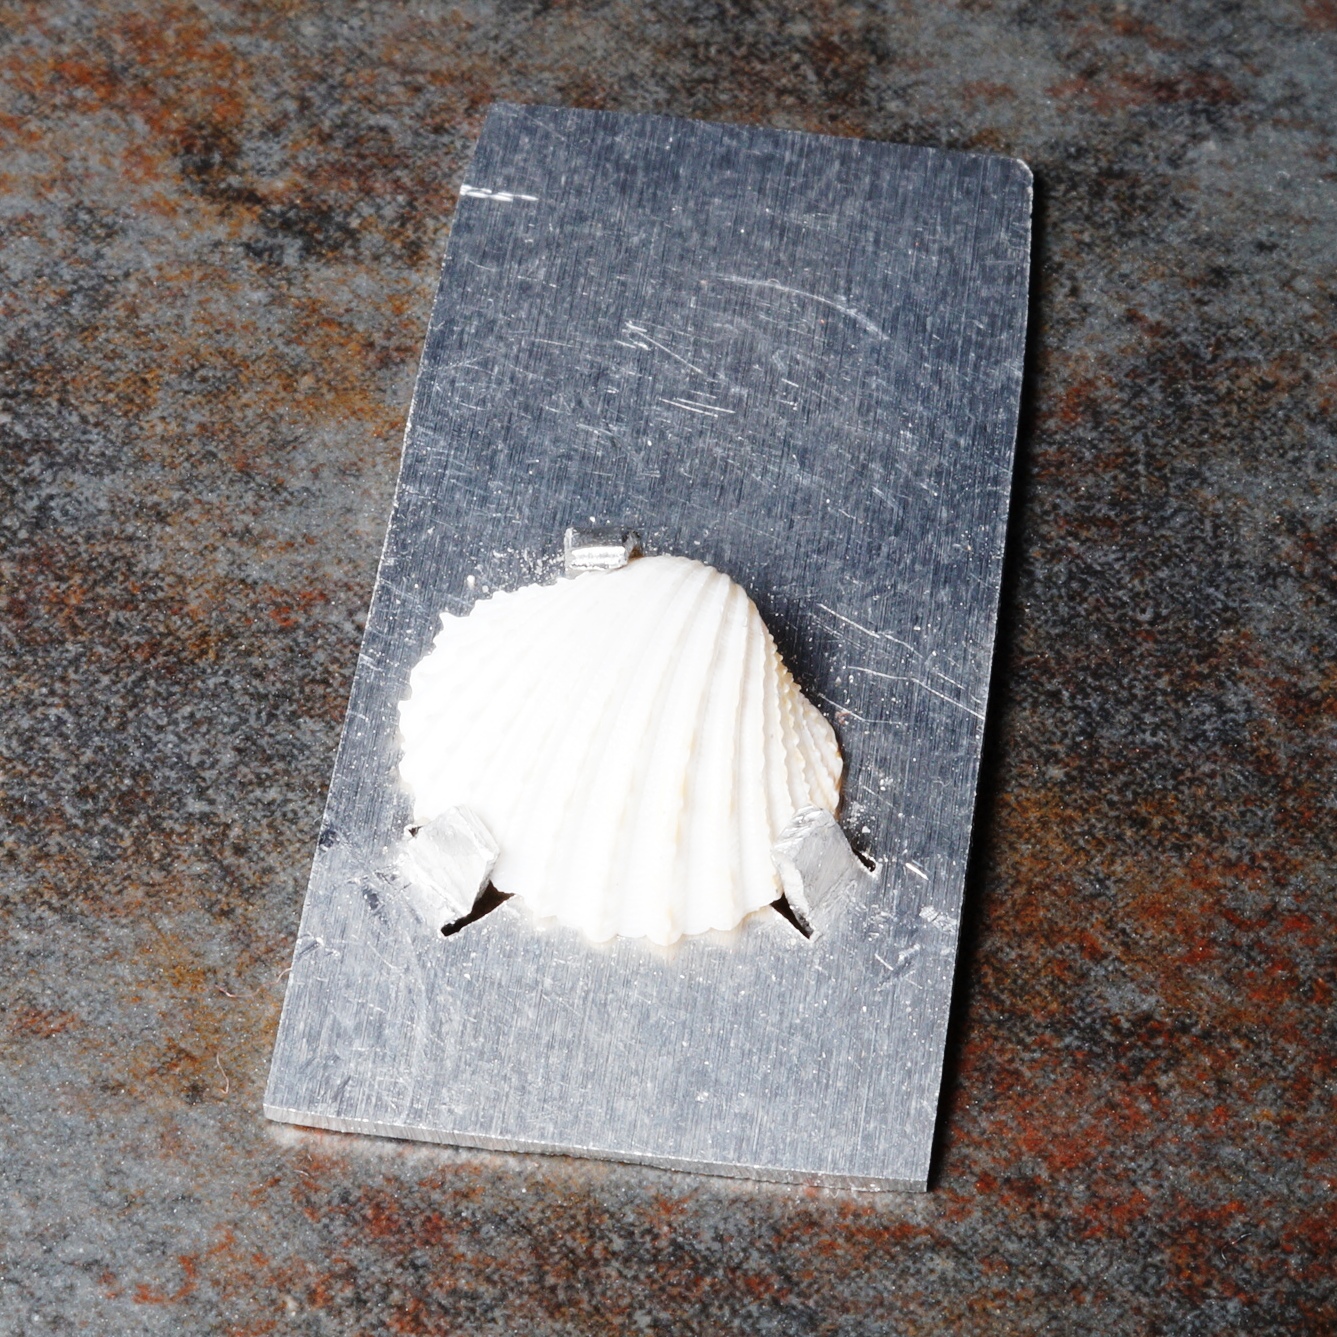 Clasp Set Shell in Alumimium |
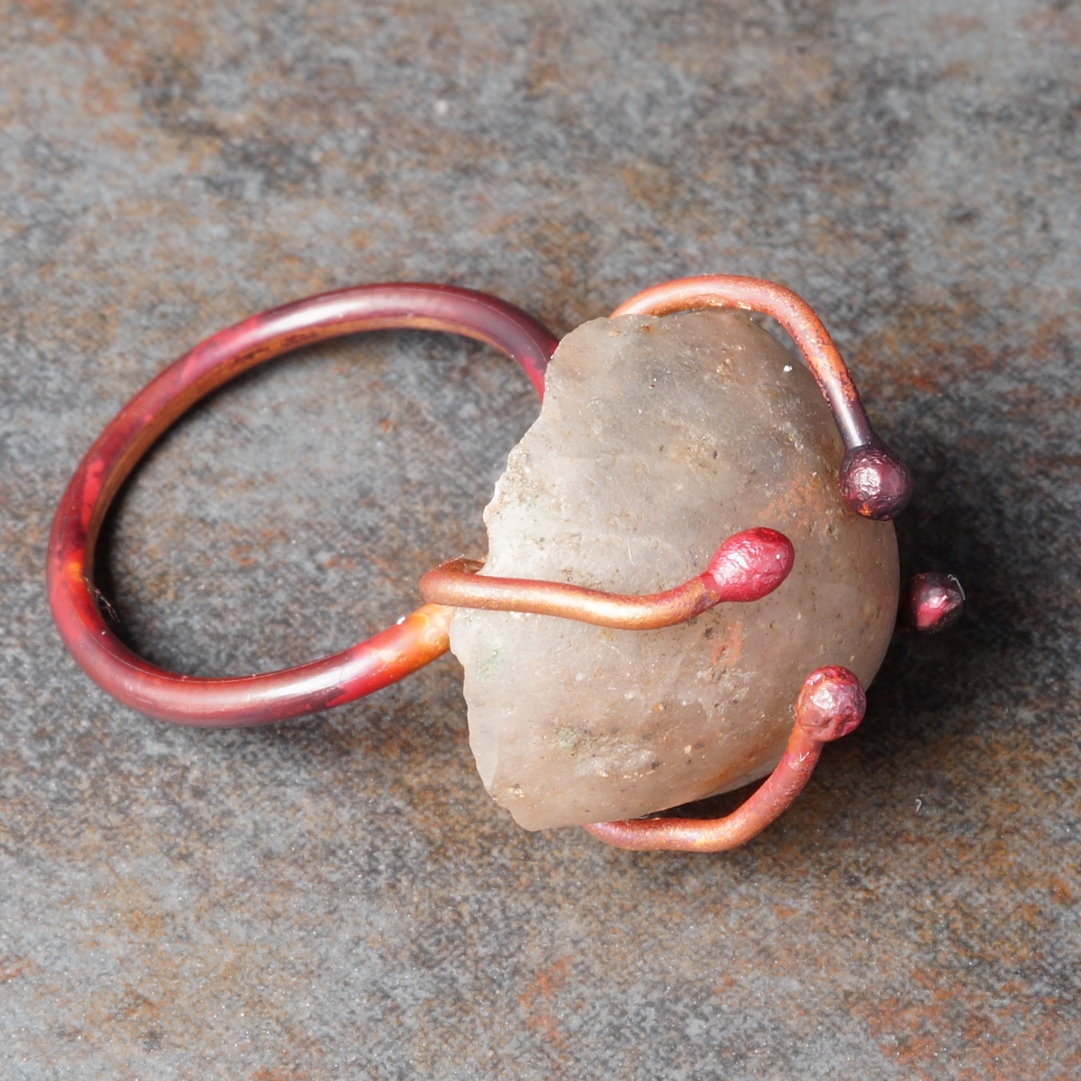 Copper ring with wire prong gemstone setting, with balls |
One of the things I could not get the hang of from the previous session, was to create balls at the end of metal wires. I knew it was possible, but could not recreate them in my studio, so the next project was to create a prong setting with wire, finished with balls, for a ring.
This project had many design challenges, namely as we were getting into the territory of soldering. I have watched numerous jewellery soldering videos on You-tube, giving conflicting advice, so I was excited and apprehensive at the same time. Before we could get on with it, the tutor did the theory behind successful soldering, as the 4 year old in me was thinking can't we just do it already????? I create the design, which I think will hold the gemstone in place, but am advised to add more, as if the frame is too big, it can be made smaller. The balls on each end of the wires are created and soldered to create a cross. A band of copper is used to create a ring for my little finger and soldered to the cross, before the gemstone is added, and my fears that the frame to too big is realised.... |
By this time now I am really excited, and ready for my next design challenge. I had brought a selection of my own gemstones, and wanted to create a gemstone setting for a small slice of pietersite. In this instance I was to create a frame for the gemstone to sit on, solder five prongs onto the frame to hold the gemstone in place, and a jump ring, before securing the pietersite piece in place. This involved a lot of soldering, and design foresight to achieve, but this was the end result |
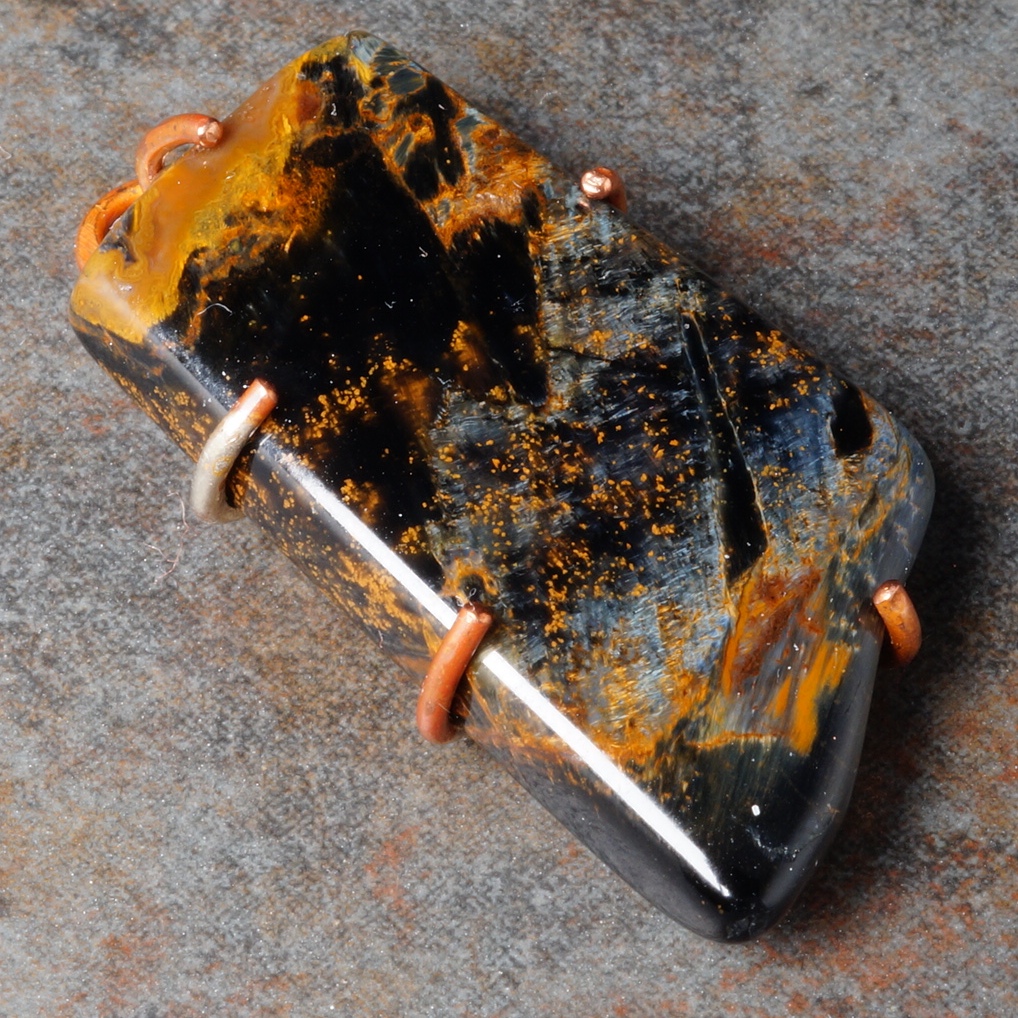 Pietersite Copper wire Prong Set Pendant |
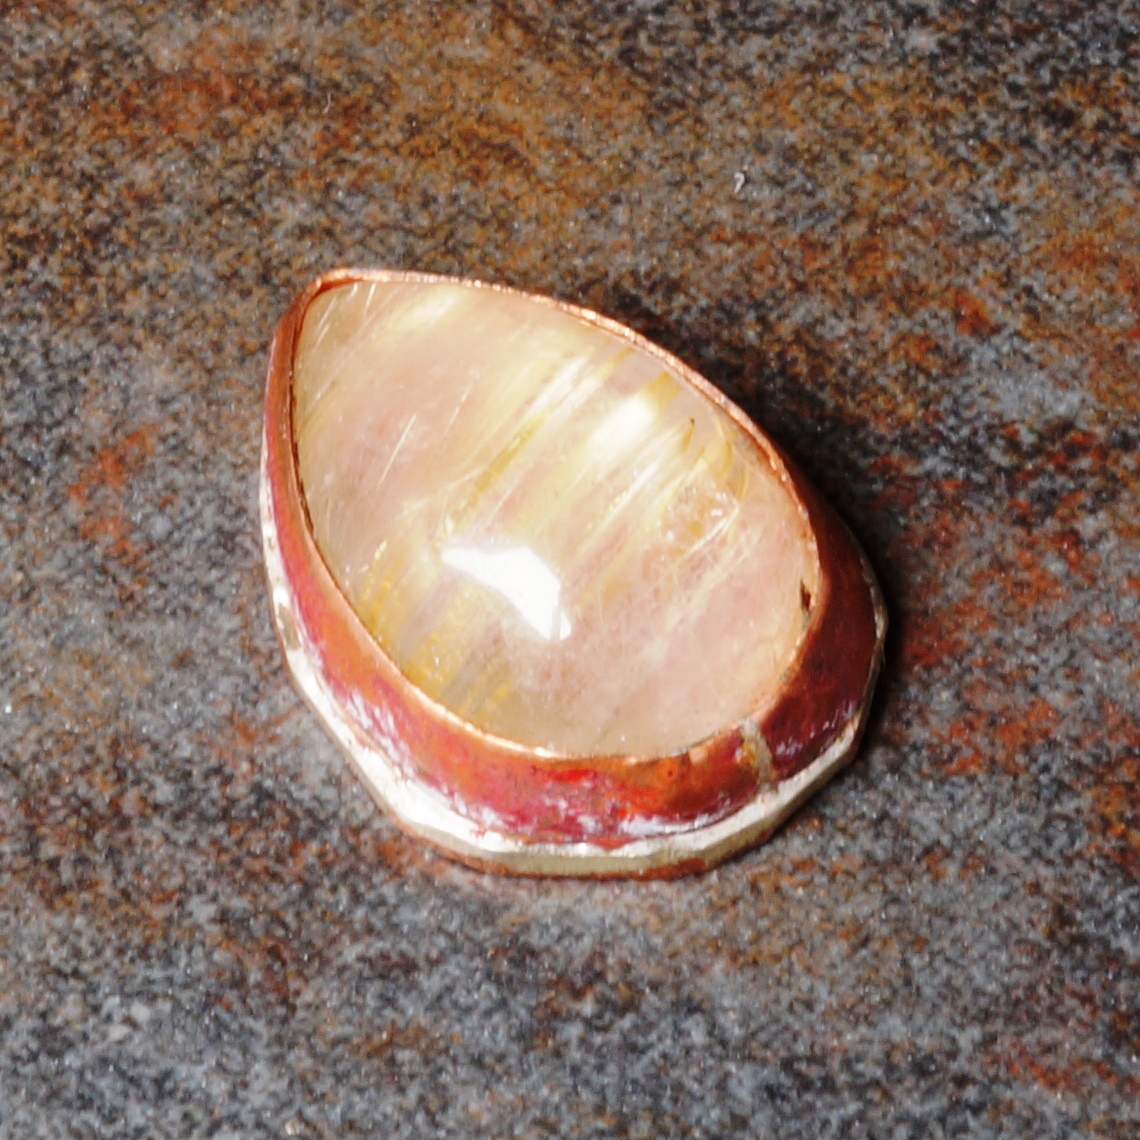 Bezel Set Rutilated Quartz Teardrop |
The final design project was to create a bezel setting for a rutilated quartz teardrop cabachon. This was going to be challenging in so many ways. The cabachon was 8 mm x 4 mm, and a domed teardrop shape, so wraping the bezel strip around it tightly was difficult, even using the tip as a reference point, I think hindered more than it helped, but after several goes, and a bit of cursing I managed it, and it's soldered. Next the back plate is created and soldered to the Bezel strip to create a cap. This process goes smoothly. After sawing and filing the edges, I am ready to add the gemstone, and then use the setting tools to push the bezel in place and set it securely. |
All achieved with a lot of patience....
By now its 4.30pm, but I want to make sure I have this soldering thing licked, as this is going to be an essential skill, moving forward with my designs, and I need to know how to solder the sterling silver posts to my geometric shapes to make studs.
Here's the end results....
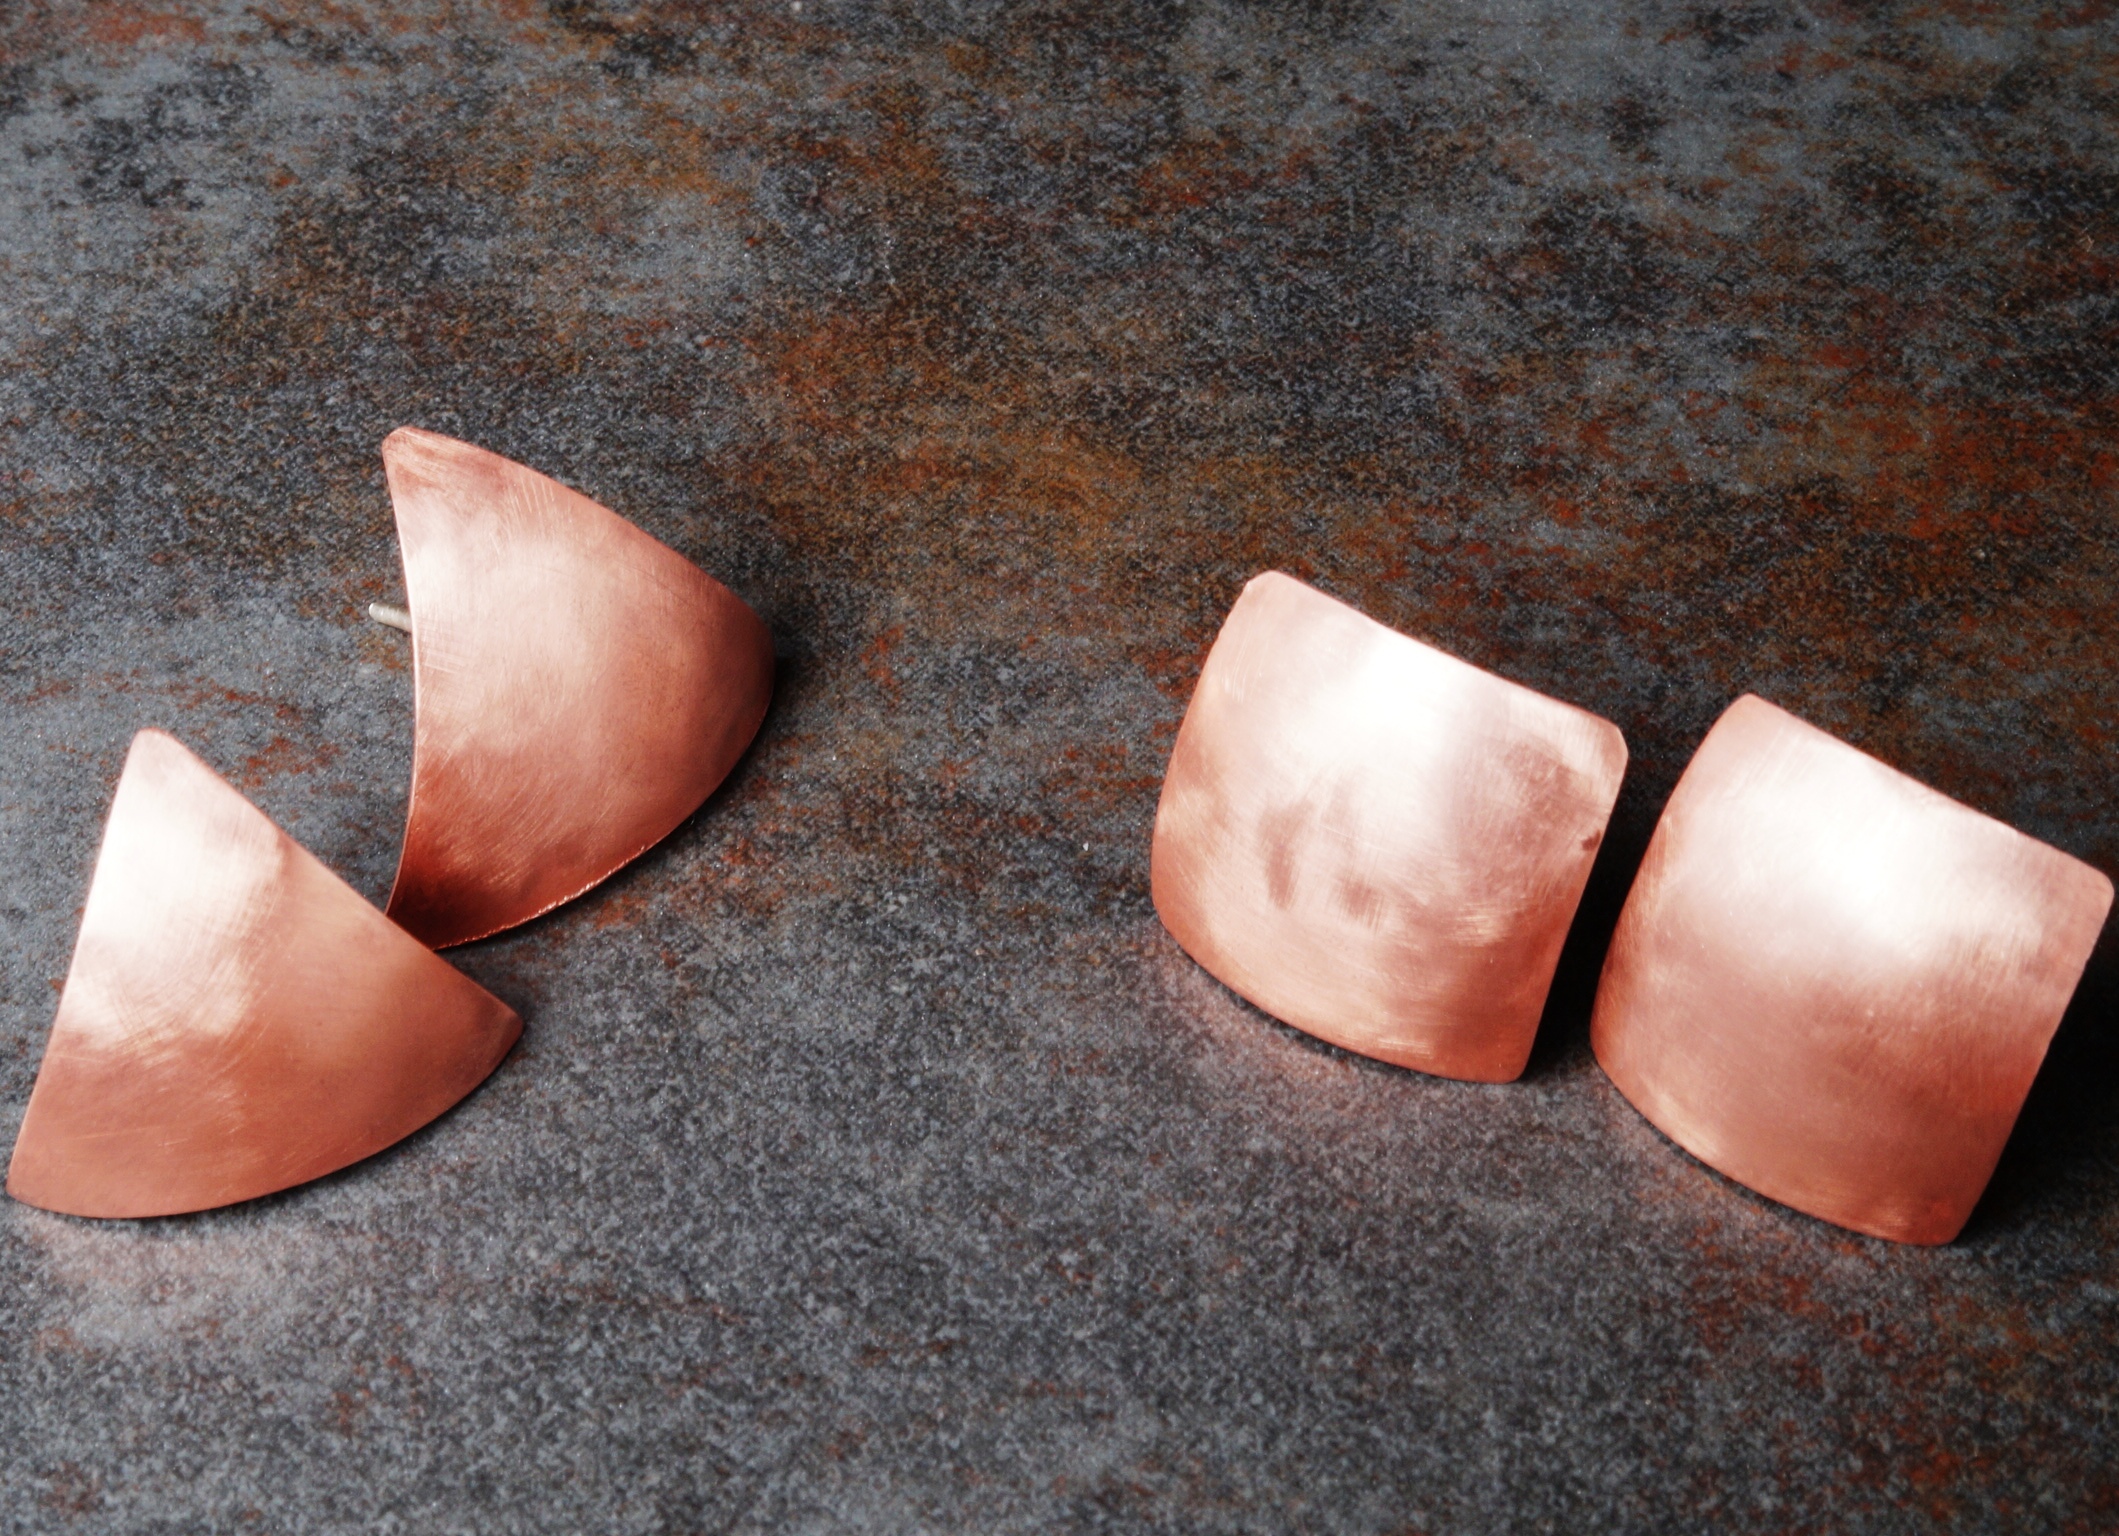 |
One thing I did find out, is that it is not possible to create aluminium studs, soldering sterling silver posts, as aluminium melts at a lower temperature than easy silver solder, creating a molten grey blob.
Good to know moving forward.
Wih these two techniques under my belt, I am getting super creative, and I havee decided to have montly giveaways of some of the sample designs I am creating as I am mastering these skills, which will be posted on my instagram feed, and on the website blog.
Watch this space to see how my metal smithing journey progresses
Joolz xxx
0 Comments


