Shop Categories
Your Reviews
Read More
Trade Account Login
REGISTRATION
It's time to face my gemstone bezel setting demons!
It's time to face my gemstone bezel setting demons!

One of the things I wanted to learn when I started my metal smithiing journey was setting gemstones.
Currently all my handmade jewellery is created using simple wire wrapping, which is great for holding and showing of drilled beads and gemstones, but is some what limited when it comes to jewellery design.
So I invested some time learnig from a fellow handmade jewellery in learning a more secure way of setting gemstones in metal, and as you may remember he taught me 3 different techniques
Over the past year, since then, I have set up my jewellery studio inmy attic, with the help of a local wood turner/carpenter, kiited it out with various metal smithing tools, and practiced and experimented using different techniques and methods, which can be read in my series of blog posts about my metal smithing journey.
The cornerstone of metal smithing is soldering, and this has been the biggest challenge, frustration and bug bear in my learning metal smithing curve, so this was something that I wanted to get under my belt before I tackled bezel setting.
So due to an eye injury, self doubt, loss of confidence and a bit of procrastination, it only this week that I dared to take on this gemstone setting technique.
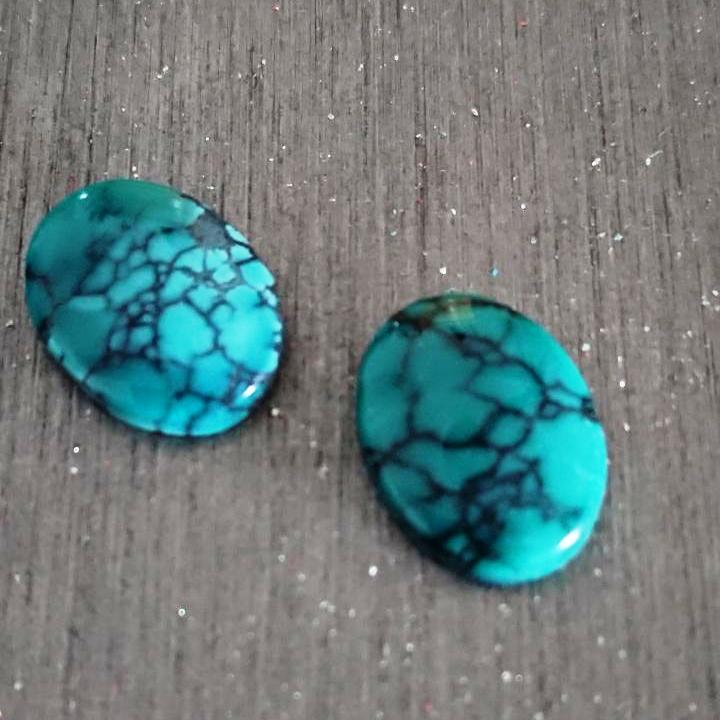
Noe not being stupd, I decided to chose a gemstone that would be realtively simple to work with, not too big not to small, not too simple or comples when it came to the shape, we can deal with those at a later date, and with this in mind I settled for a couple of 14mm oval turquoise cabachons, with the view of making a pair of studs.
The first step is to measure the correct amount of bezel wire to wrap around the cabachon to hold it securely.
Now this might sound like and seem a simple task, but even with a 14mm cabachon, this proved to be a bit tricky as I was using 0.5mm fine sterling silver bezel wire, which is softer than your standard sterling silver sheet or wire, and has the tendancy to bend where you don't want it to, and also buckle as I try to wrap it around.
Once I have managed to get the wire to wrap around the stone, I then have to mark and cut it.
Now this is where I make the first mistake in this process, I try using a jewellers saw, to create a nice clean cut straight line, but as the metal is so soft it warps and buckles, so that means that I now have to spend time filling the ends to make sure they are flush.
 |
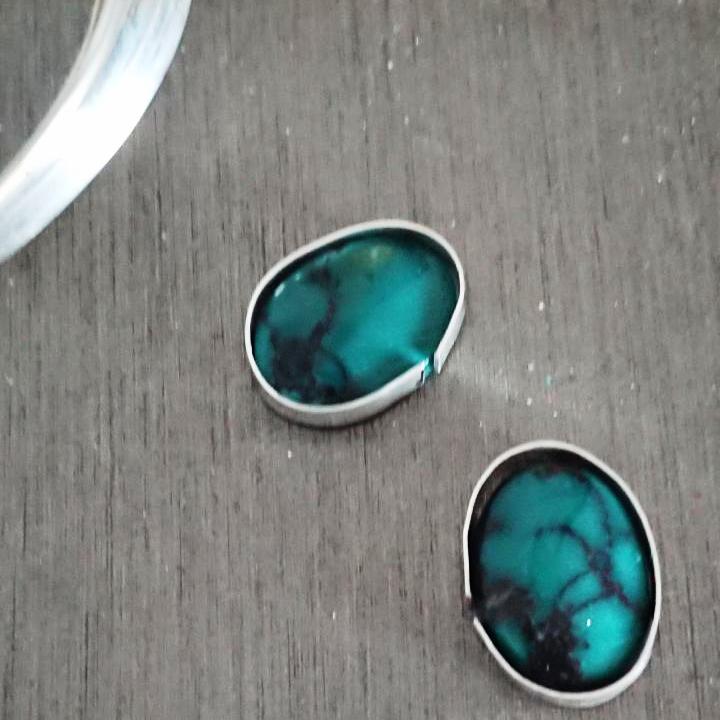 |
As the next step and making sure both ends of this bezel wire is taking a lot of time filling and fitting the two ends together, I am convinced sawing the wire is not the way to go, but for now that's what I have done, and I am going to have to live with the consequences of that action.
So after what seems like ages I finally get the two ends of the bezel wires to fit snugly, ready to be soldered.
When it comes to soldering there is an art and science to it, to limit the frustrations of the process, one of the main rules of this process, is no gaps! Soldering joins metals together, but will not fill gaps, so I ensure that you can't even get a hair inbetween the join before I attempt to solder.
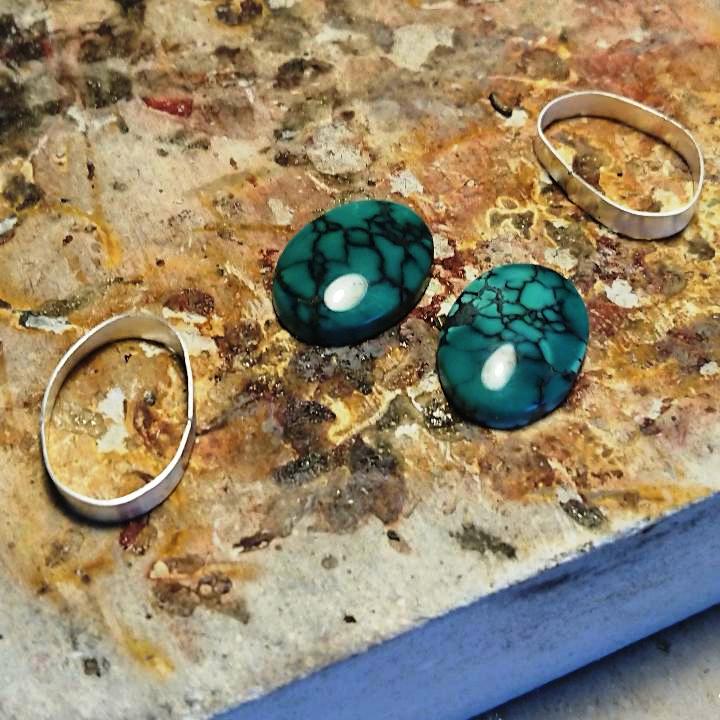
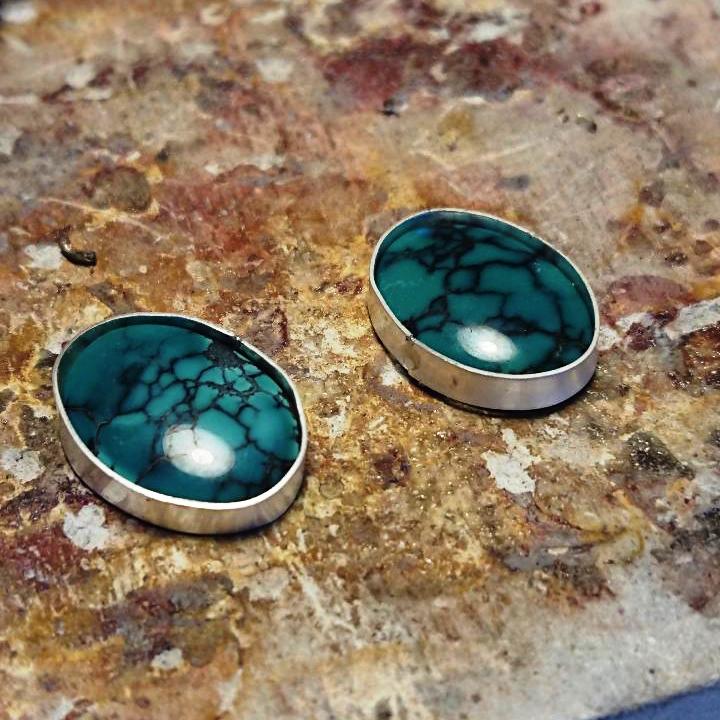
A bit of flux and some blow torch action and I have two bezels which fit the 2 turquoise cabachons nicely:
 |
 |
But I notice that the solder hasn't run all the way across the join, so it pickle, sand, flux and repeat the soldering process.
The inevitable happens as the fine silver is moe refined that sterling silver and I melt it. So this is now added to my silver scrap pile, which I will use to make balls and other embellishments for other jewellery design project in the future.
I am not saying I'm a perfectionist, but if a job is worth doing it's worth doing right, and I start the whole process again.
As my soldering doesn't seem to be improving, in fact I would say it's getting worse, I take a break for a day, and concentrate on other life prioritises.
The problem with learning, if you don't use it and practice, you loose it, and this is what's happened here, due to lockdown and social distancing, going on another course or workshop to refresh my memory on the process is a bit of a non-starter, so it back to reading books and watching some youtube videos.
Now with renewed confidence I'm back at my becnh the next day, and start with some fresh bezel wire, but this time I use shears to cut the wire, this makes the cut cleaner so less filing is needed and I use half-round pliers to bring the two ends together before fluxing and soldering.
Following the success of creating the bezel, I next move onto the next stage of bezel setting, adding the back plate, a piece of sterling silver sheet is cut, pickled, sanded and fluxed, before the bezel wires are added, ensuring no gaps are between them.
Mount them on a tripod, and heat from below.
Now this is where I encounter a couple of issues, the gauze underneath seems to be melting and giving off an obnoxious smell/gass and the plate itself does not seem to be getting hot enough for the solder to flow. Using a blow torch that although gets upto 1300 degrees, does have it's limitations, so I am wondering if it will be powerful enough to do the job.
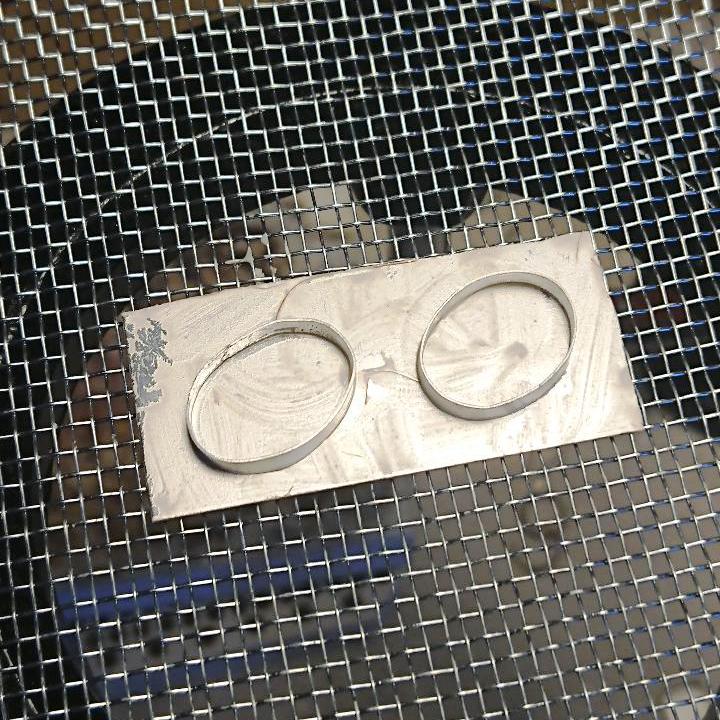
With this in mind I decide to make my life easier and start again, but this time cut the plate into 2 and solder the bezels to their respective back plates separately from the top, and hey presto! It works, I pop the in the pickle, and 10 minutes later I have this:
 |
 |
The final test is to see after all my hard work and frustrations, whether the cabachons fit inside the bezels?
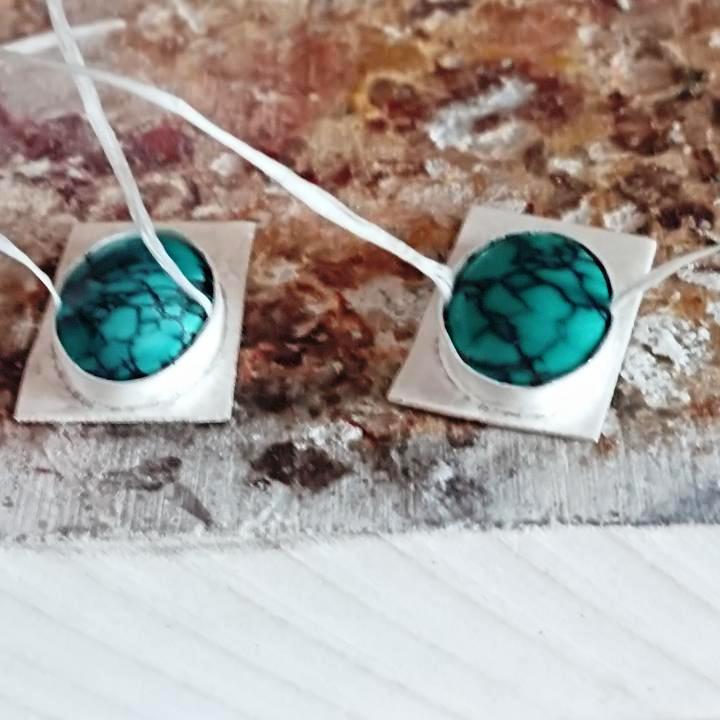
With baited breath, some dental floss, divine intervention and a bit of elbow grease these babies fit:
To say I was happy would be an understatement, It's taken me 2 days to get to this point.
But then I start asking myself, are these too big to be studs?
I actually quite like the square back ground.
Should I make them square studs, dangle earrings or statement earrings?
I have so many design decisons running around my head, that what started off as a simple design, has now lead to other design dilemnas.
So I post it out to my social media community to see what they think.
For now these beauties are sitting on my bench while I decide ehat I will make them.......
If you have any ideas, why don't you pop them in my comments below
Joolz xxx
0 Comments


