Shop Categories
Your Reviews
Read More
Trade Account Login
REGISTRATION
Sterling Silver Bezel Set Turquoise Studs
Sterling Silver Bezel Set Turquoise Studs

Last week I decided that it was about time that I stopped procrastinating, over thinkinig and let self doubt about me making abilities and get to grips with bezel setting so that I can move my jewellery designs on to the next level.
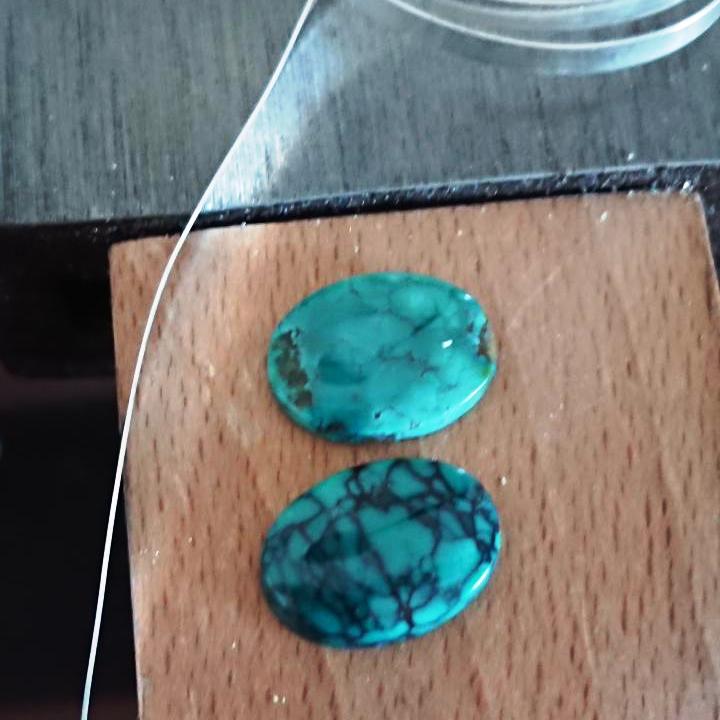
I started the process with a pair of 14mm turquoise cabachons to practice with, as they where the right shape and size to practice this technique on.
I got as far as adding the back plate to the bezel wire and ensuring that the cabachons fitted inside, but stopped at that point as I could not decide how to finish the design.
My initial thought was to make them into studs, but on finishing I thought they might to be too big and/or heavy for studs and was playing around with other earring design ideas.
Luckily for me when I brought these turquoise cabachons I brought a few, and I found some slimmer ones which I thought I can make into studs as they should be lighter.
With that in mind and feeling confident after getting so far with my last try, I set about creating my first pair of bezel set studs:
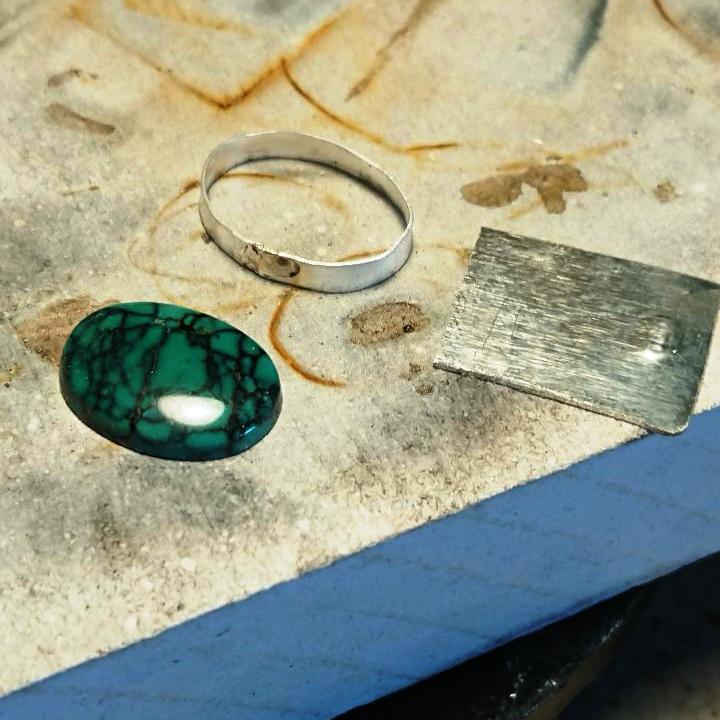
As these cabachones are slighly lower in height I use 3mm sterling silver bezel wire to wrap around the stones, cut with shears, and use hal round parallel pliers to bring the two ends together, before soldering like a pro!
The next stage was to cut out a back plate, which was then pickled and sanded ready to attach the bezel to it:
 |
 |
While I had been trying to decide what to do with my first attempt of bezel setting, I had been researching different techniques of using bezel setting in jewellery design.
One of the things I want to do in the not too distant future is to create my own sterling silver and/or copper beads. This will consist of soldering 2 domes together to create the bead, and so my current soldering technique might not be the best way to achieve this.
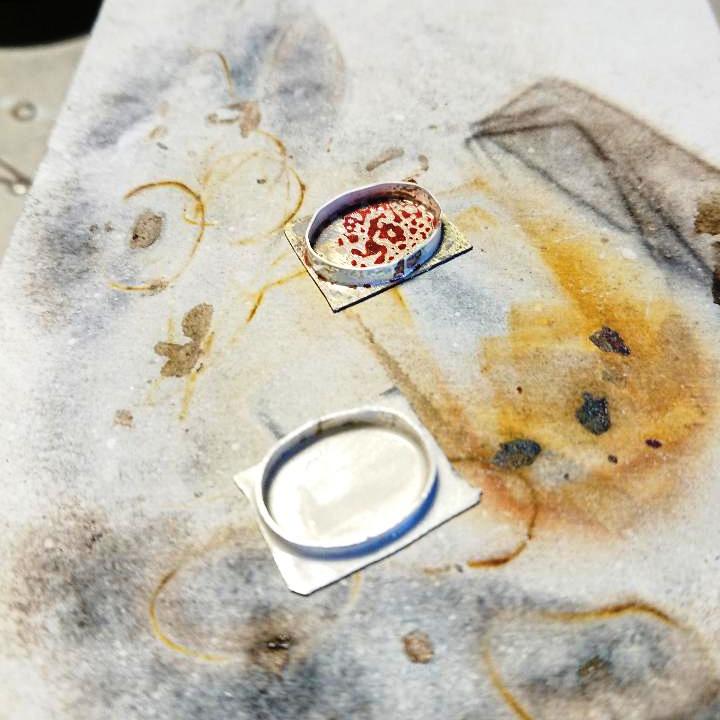
I had watched a technique called stick soldering, and I thought that I would use this technique to solder my bezel to the back plate, and I have to say the beginners luck worked for me on my first attempt, but maybe I was too over confident on my second try, as I had to do it a couple of time to get it right on the second stud.
The last thing I did was to attach the ear wire onto the backs, 10 minutes in the pickle bath and a clean they are ready for the extra metal of the backs to be trimed off.
 |
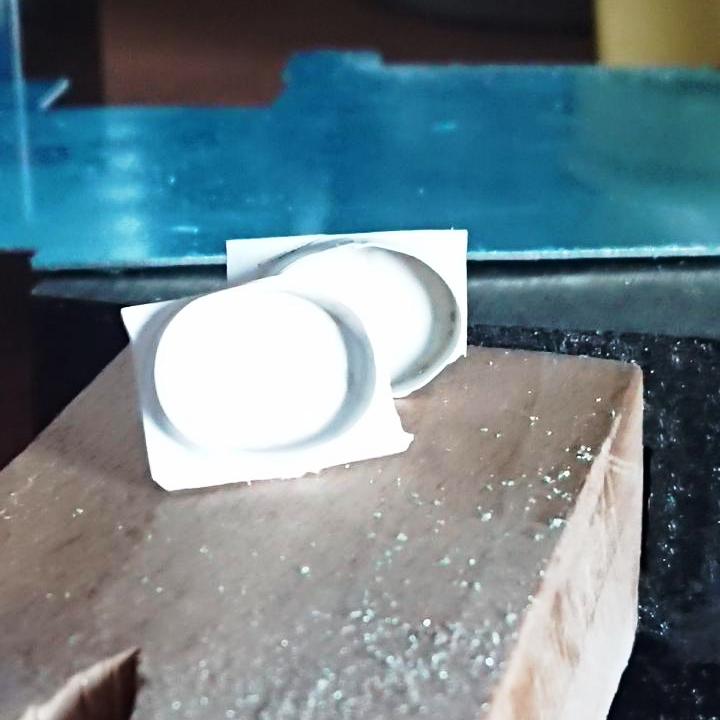 |
now I am not sure whether this was a good idea, as I found it hard to saw the extra silver of the backs, and went through a few jewellers saw blades in the process, until I had the idea, that maybe my bench shears could do the job, and hey presto job done!
I still have to file down the extra silver to make it flush with the bezel wire, luckily for me I found my handle dremel and some sand paper a great help
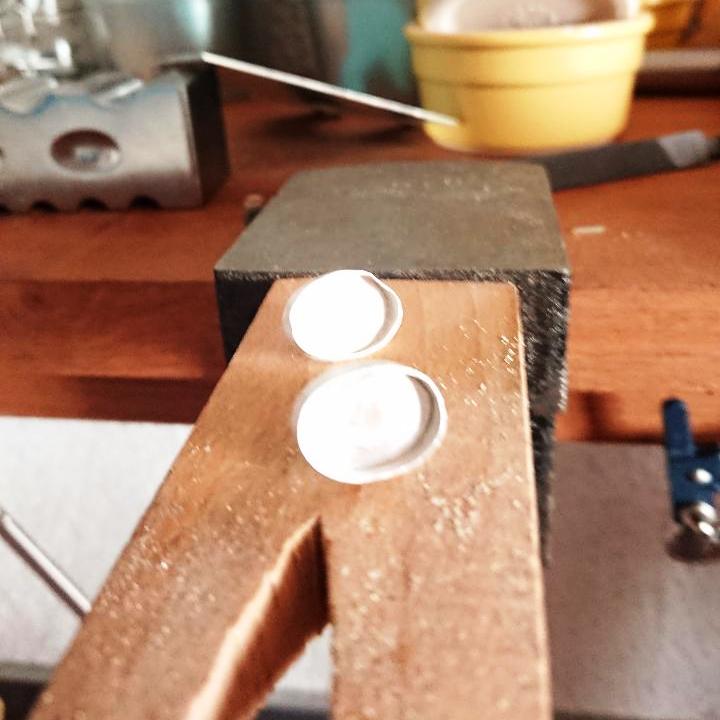
A polish and then its time to check that the cabachons fit into the bezels, which luckily for me they both do, which was a great relief to me!
Then its the use of bezel setters to ensure that these cabachons are securely fitted ....
 |
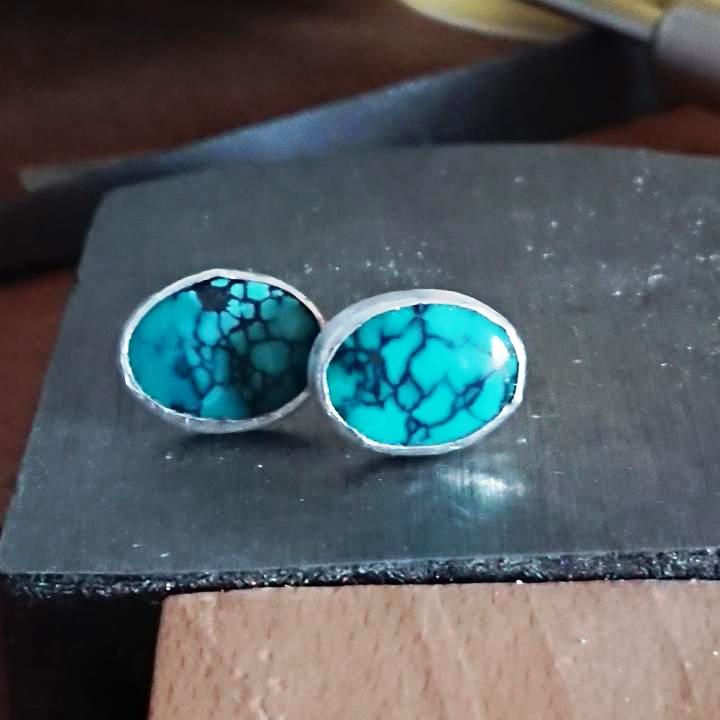 |
I never realised how sharp these burnishers are and my fingers have a few more cuts than when I started, but I am pleased with the end results, for my first attempt.
I have so many cabachons sitting on my bench that I cannot wait to turn them into studs, dangle and statement earrings and pendants, watch this space.
If you have any ideas, why don't you pop them in my comments below
Joolz xxx
0 Comments


