Shop Categories
Your Reviews
Read More
Trade Account Login
REGISTRATION
Getting Creative on my Jewellery Bench
Getting Creative on my Jewellery Bench

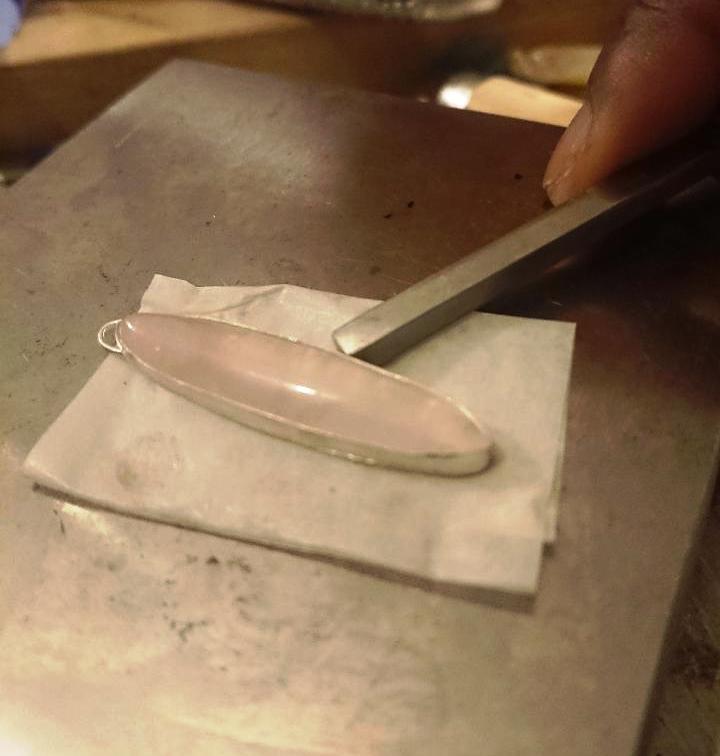
Following my attempt at creating an elegant bezel set of the oval Chrysoprase cabochon to create a pendant, althought successful, I did come across a few design challenges.
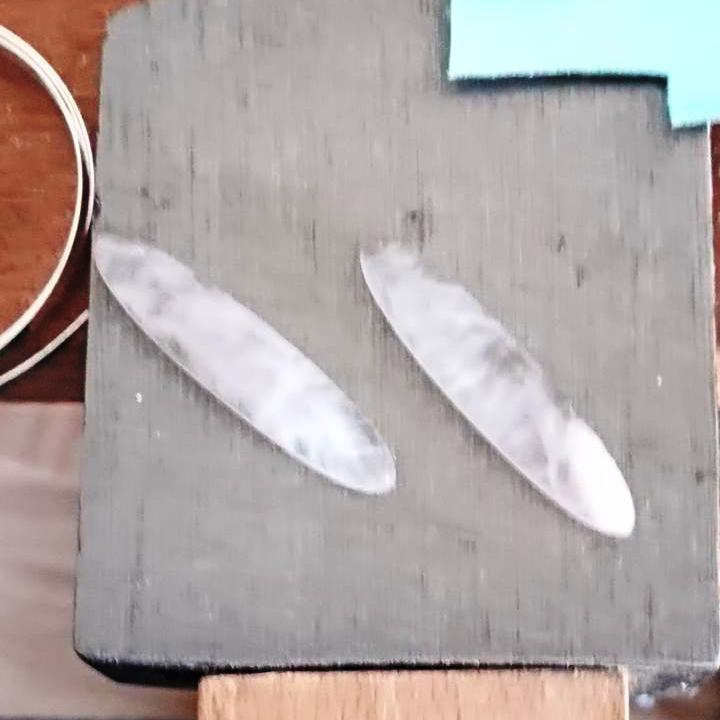
But not to give up hope or heart, my learning progresses, and this time I set myself the challenge of turning a pair of oval Rose Quartz cabochons into a pair of elegantly sleek dangle earrings.
These cabochons are smaller and thinner than the Chrysoprase cabochon,and have slightly more pointed ends, so this would be something I would have to consider when bezel setting them.
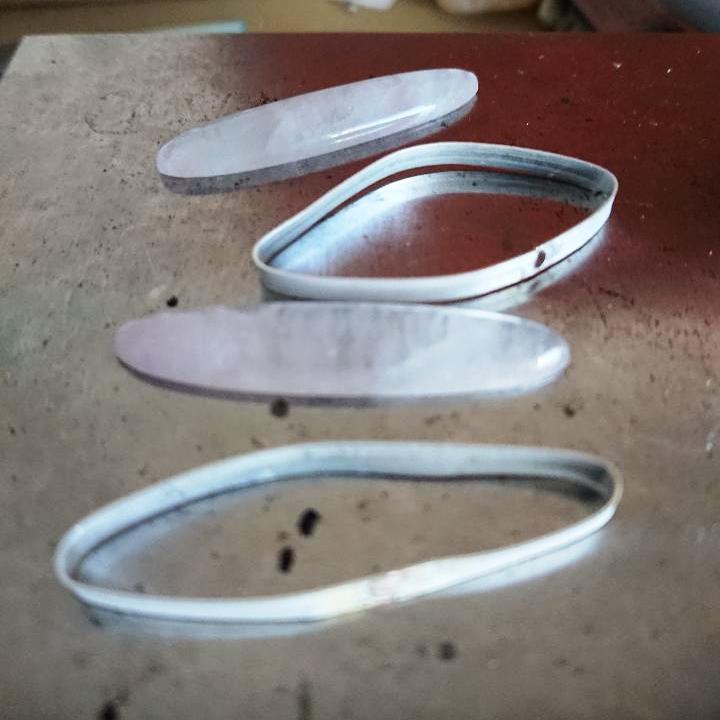
I wrap 3mm sterling silver bezel wire tightly around the Chrysoprase cabachon, mark where they over lap and cut with shears.
It's only when I wrap the bezel strips around the cabachons that I notice that one is tighter than the other, but not to worry I can sort that out when I have soldered the ends together.
 |
 |
Using the half round parallel pliers to bring the two ends together, a bit of jiggering to get them to fit snuggly and then I'm soldering the ends together like a pro!
When I solder the ends of the bezel wire together I knew that one of them was going to be a bit of a tight fit around the cabochon, but it was actually too small.
Not to worry using a dapping rod, I roll the inside of the bezel wire to make I slightly bigger until it fits a round the cabachon.
The next thing is to stamp the back of the back plate with the 0.925 stamp, and make sure that the bezel wire sits snugglely on top, with no gaps of light, before pickling and sanding both metals, ready for soldering.
 |
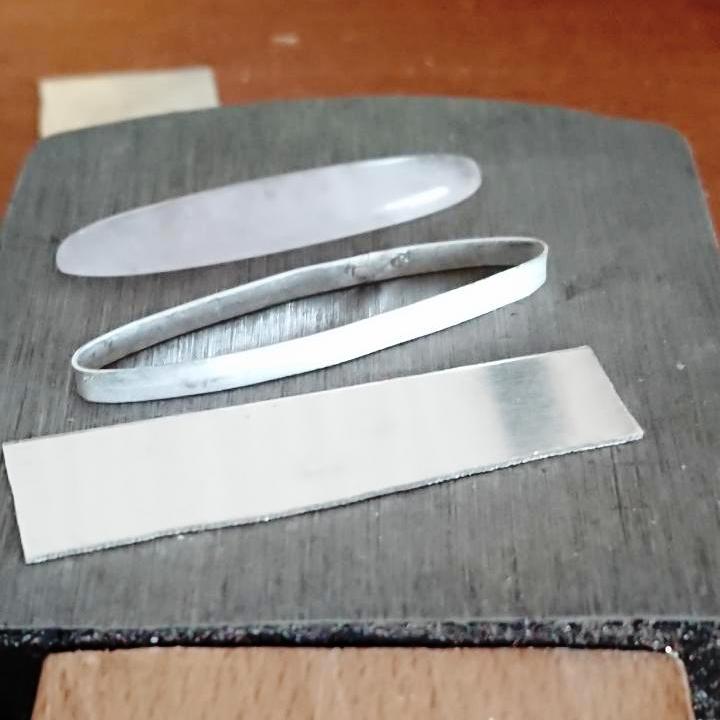 |
A back plate is created, which was then pickled and sanded before I solder the bezel to it.
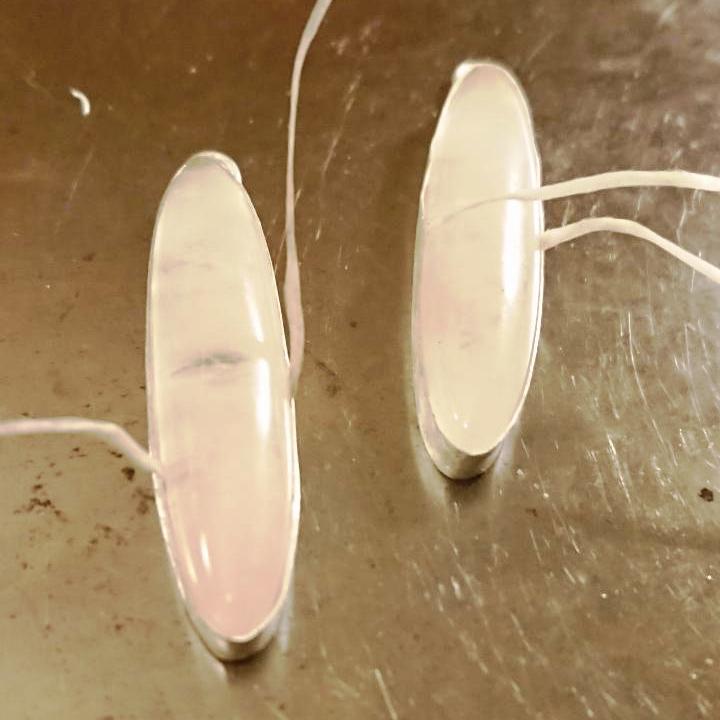
I cut the excess silver from the back plate and file down the edges, before checking that the cabochon fits inside, not forgetting the obligatory dental floss to ensure I have a method of getting it out
It's at this point I start thinking how am I going to connect the earrings to the ear wires?
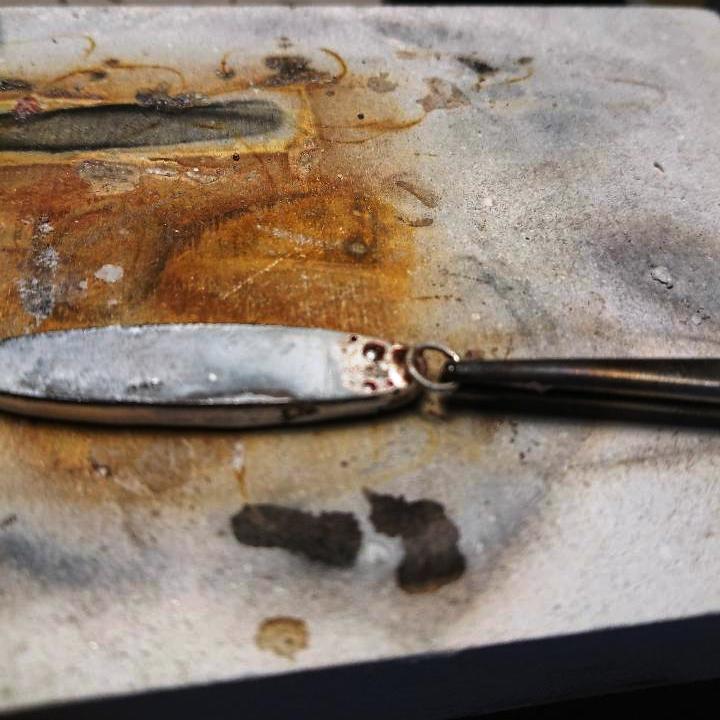
I play around with a number of ideas before settling on creating a simple sterling silver jump ring, which I then solder to the back of the bezel plate.
This is when my creativity starts to kick in, and I start thinking wouldn't it be nice to a have a little of the back exposed to show some of the cabochon.
Because these particular cabcohons are very light in colour, thin and narrow, I just didn't want to cut out most of the back plate.
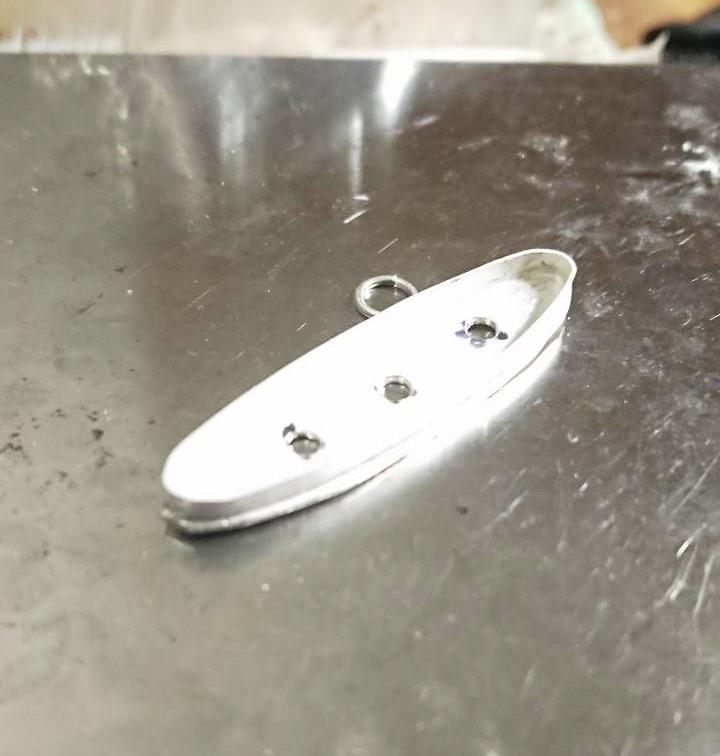
I then hit on the idea of creating peep holes.
After a dip in the pickle and water to neutralise the acid, it's time to get busy!
The devil is always in the detail and so I set about the task of filing and sanding down all the ends of the bezel setting, mask on, making sure that the bezel wall and the back plate are flush so that they appear as one piece, using my trusty dremel and its attachements.
I drill 3 holes to create the peep hole effect on the back plate:
 |
 |
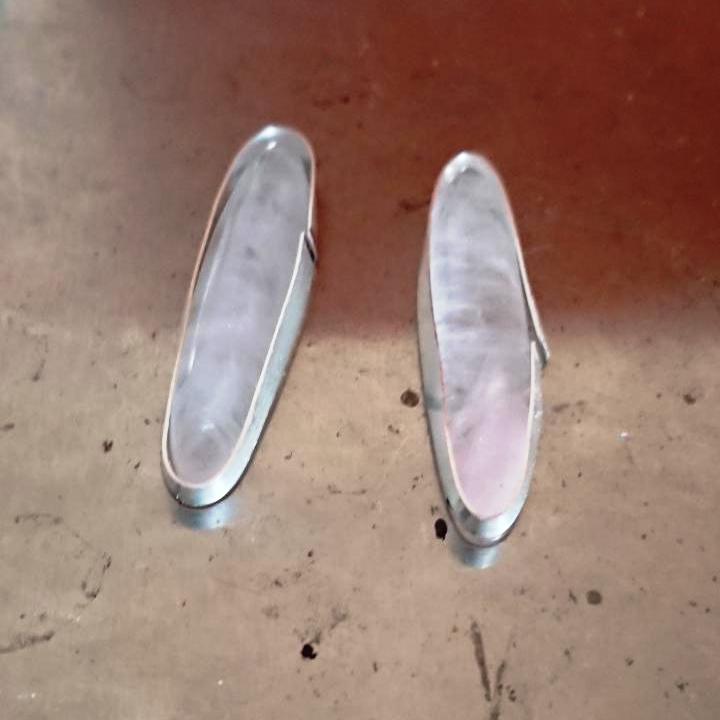
A polish and then its time to check that the Rose Quartz cabachon fits within their bezels with the obligatory dental floss, which they do, although one is more snug than the other, but that's not a worry for me.
To make my life easier I use so masking tap to hold the bezel in place before I start setting the cabochons:
 |
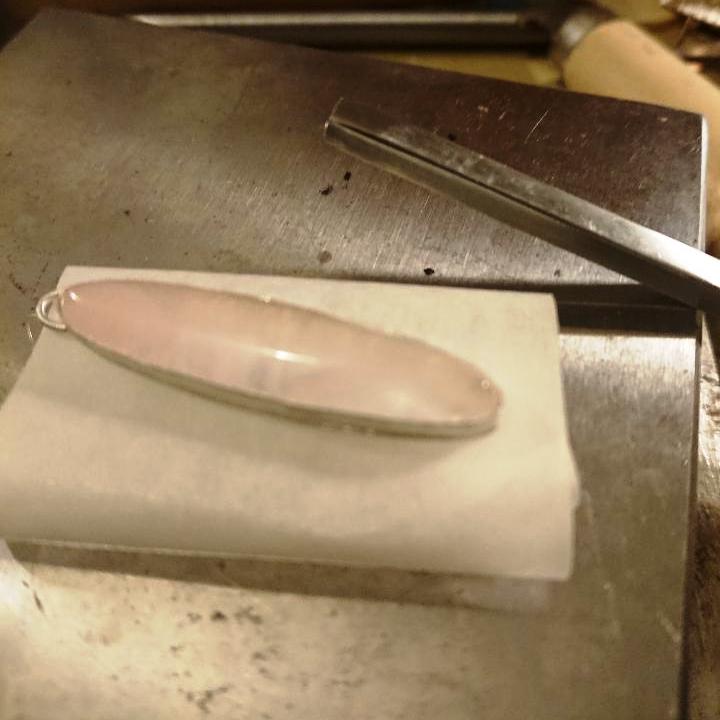 |
I am now all set to start bezel setting these gemstone beauties and I learn my lesson from the last time I set oval cabochons, and I start with the Top and then the bottom points of the cabochons, to avoid the bunching problem I had when I created the Chrysoprase pendant.
Granted this time I am using a smaller wire, and so there is less metal that I have to push and manipulate around the gemstones.
This might be one of the reasons why it seems easier this time, or maybe it's because I have now done this technique a number of times.
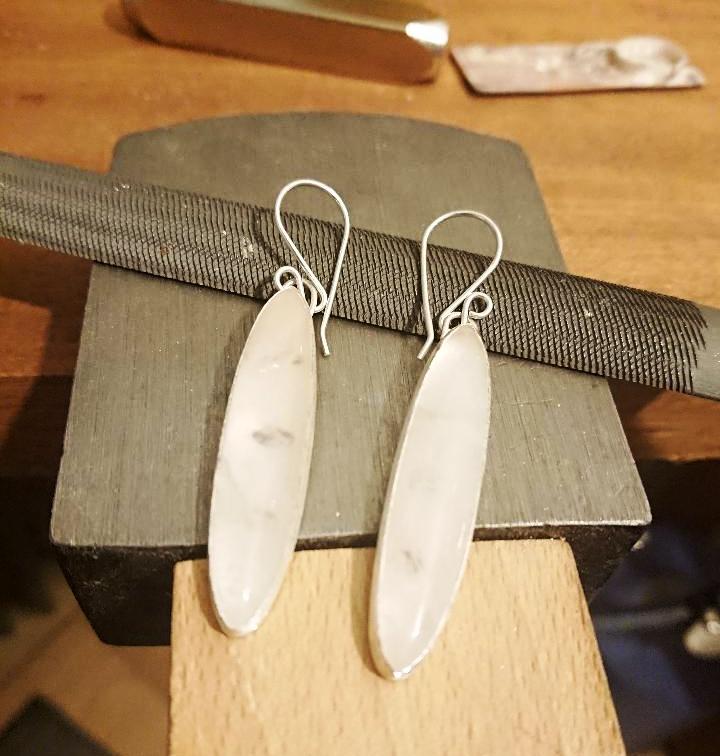
A bit of burnishing and a quick polish, before I make a pair of sterling silver ear wires for the earrings to create here's the finished article:
What do you think?
Please add your ideas and thoughts in the comments below:
Joolz xxx
0 Comments


