Shop Categories
Your Reviews
Teardrop Amethyst Ring
Janet Green
Great thumb ring
J. E.
Serrated Labradorite Studs
Janet Green
Read More
Trade Account Login
REGISTRATION
My First Ring
My First Ring
 For a good few months now I have been promising to learn how to make metal rings, but with one thing or another I have not got round to adding this skill to my ever growing list, until now.
It's been months since I have spent any quality time in my little attic jewellery studio.
One of the things on my learning to do list has been making rings, but with one thing or another I have been putting it off until know.
Ove the last few months of last year I splashed out on all the basic equipement I would need to make rings, including:
- Ring Sizers,
- Ring Mandrel,
- Rawhide Mallet, and
- T-square
Although there appears to b very little progress on the physical making side, I have spent time researching the different methods other metal-smithers have used to create their rings, by watching Youtube videos, and looking at the different ring design possiblities on Instagram.
Maybe with so much theoretical knowledge and possibilities was one of the reasons for my design paralysis and procastination to get this metal smithing skill under my belt, granted there is a thing called life that will always be the constant in my life that puts paid to most of my creating and making plans.
This week I made the determined decision that this was the week that I set time aside to make my first ring.
As with all my practicing I always start with copper because it is a harder metal to work with, so it great to practice on when honing in on ones forming skills, has a higher melting points, so it's not too easy to melt by being over zealous with the blowtorch, and its cheaper than sterling silver!!!
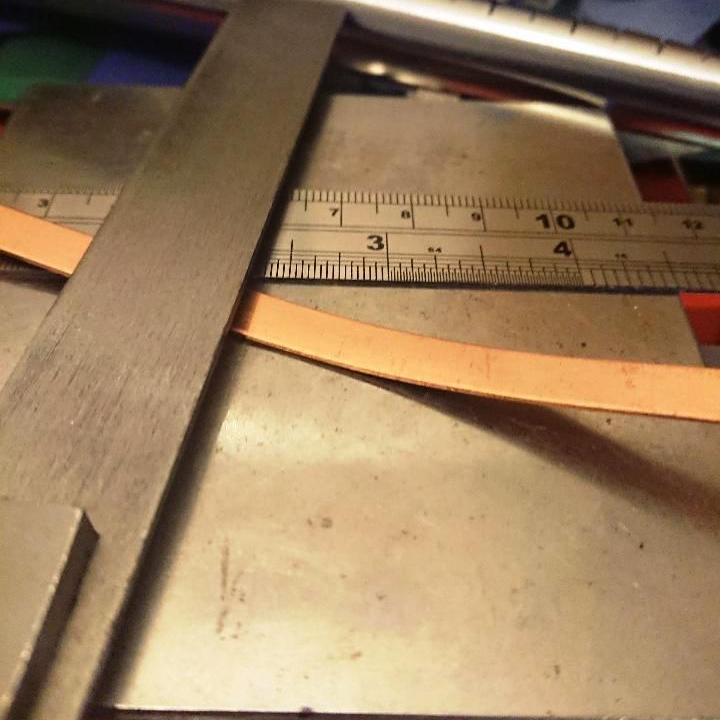
Following my 1-2-1 metalsmithing workshop back in 2019, which seems a lifetime ago, I brought some 7mm copper bezel wire, to practice bezel settings of gemstones.
Unfortunately The metal was too thick to work with, and my soldering skills meant that I could not get the edges together, so I just pushed them to the back of the draw, until now.
I thought that they would be the perfect size to work with, not too thin or thick to take a hammering
As I am partial to a pinky finger and have a love of dandelions, I decided that my first ring would be a copper dandelion stamped ring for my little finger on my left hand.
I measure up my finger, which turns out to be a size 4.5, a quick calculation, to convert the size to the length of metal I would need to make the ring.
Out comes the large dandelion stamp, and after a few bangs, I have a quite decent looking pattern on my ring blank.
Next I have to create a ring shape, so using some half round pliers, I create the correct size and shape ring ready for sawing.
Feeling pretty impressed with myself, it's over to my bench peg, check the ping of the piercing saw and burr wax is generously applied, before I start sawing through the metal.
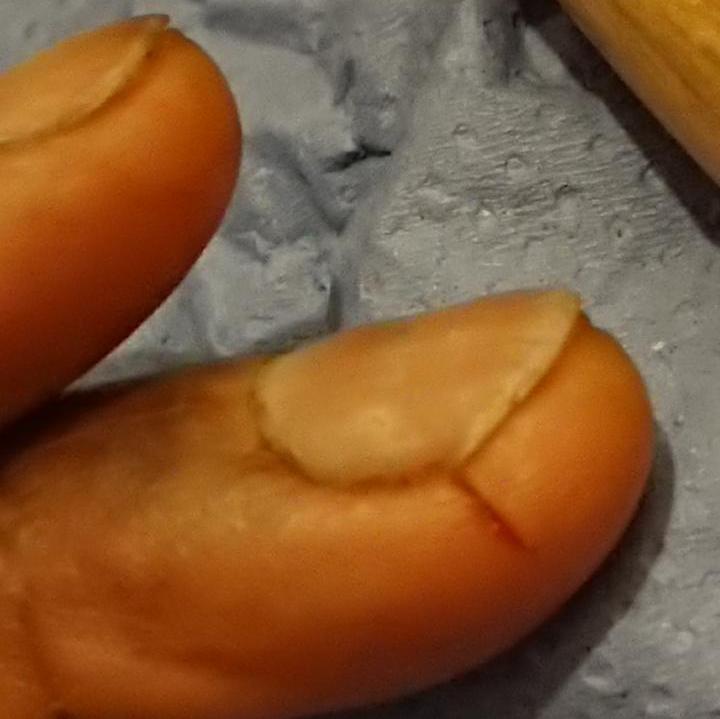
It's at this point disaster strikes, I had not realised or taken into consider how sharp the edges of the metal is as I am sawing through it, and with the pressure I promptly slice my finger:
Any flesh wound bleeds quite profusely, this one was quite deep so it hurt like you know what.
It's at this point that I find not only that I do not know where the first aid kit is, but start asking do I even have a first aid kit?
In addition to realise that can I remember which safe place I stored the plasters in!
30 minutes of turning my house upside down, I am now patched up and composed to carry on with the making of my first ring.
Not taking any more chances out comes the gator tape, to protect the rest of my fingers and thumbs from any further damage with my current endeavours.
For those who don't know gator tape, is a super sticky bright green plaster like material tape, which jewellers wrap around our digits, although I think the stuff I was sent must be from a bad batch as its not staying on, or there must be a knack to it.
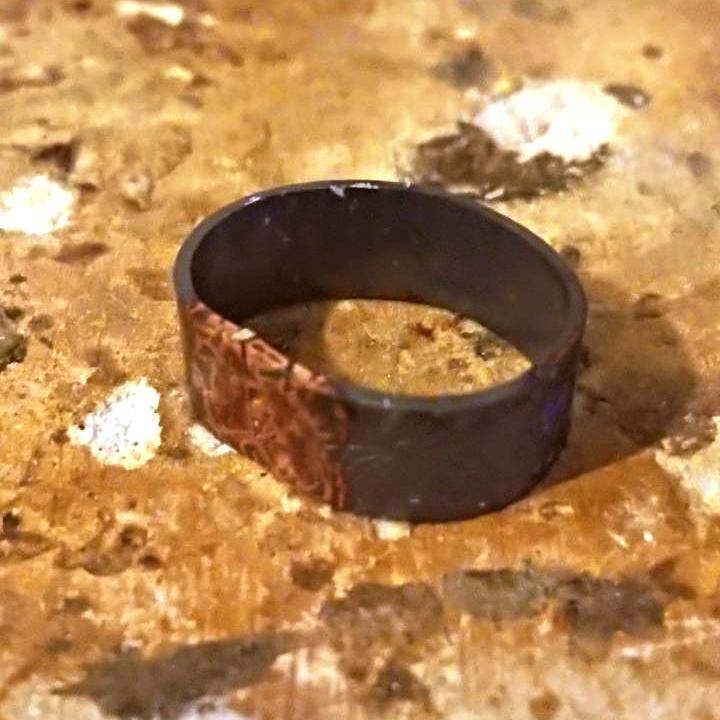
The ring is finally sawed to size, without any further incident, although it was tricky when your main digit is out of action, a bit of twisting and using half round pliers to get the two edges as close together as possible before soldering and a few minutes in the pickle to remove all the oxides:
 |
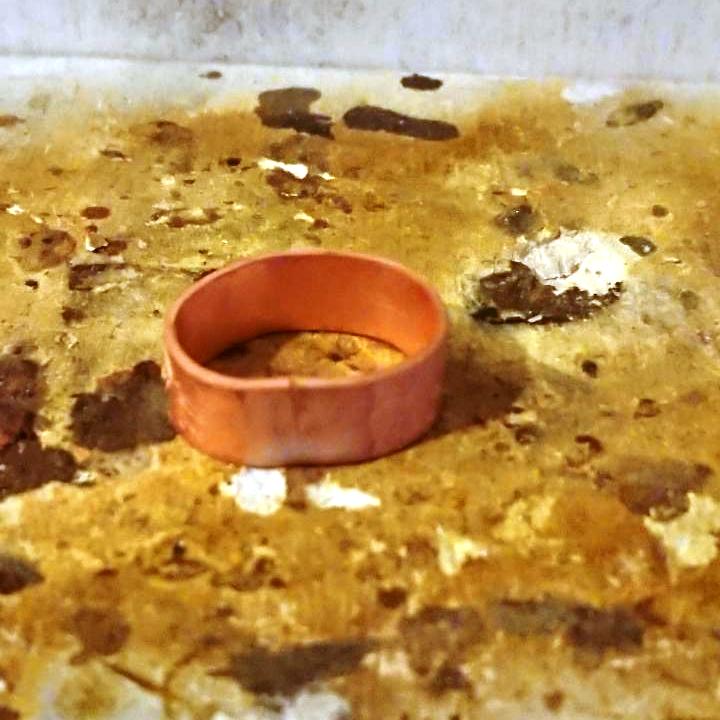 |
When you take any piece of metalsmith work out of pickle it alway looks a bit narly, but a bit of polishing soon removes that top coat of impurties and exposures the pure beauty of the metal.
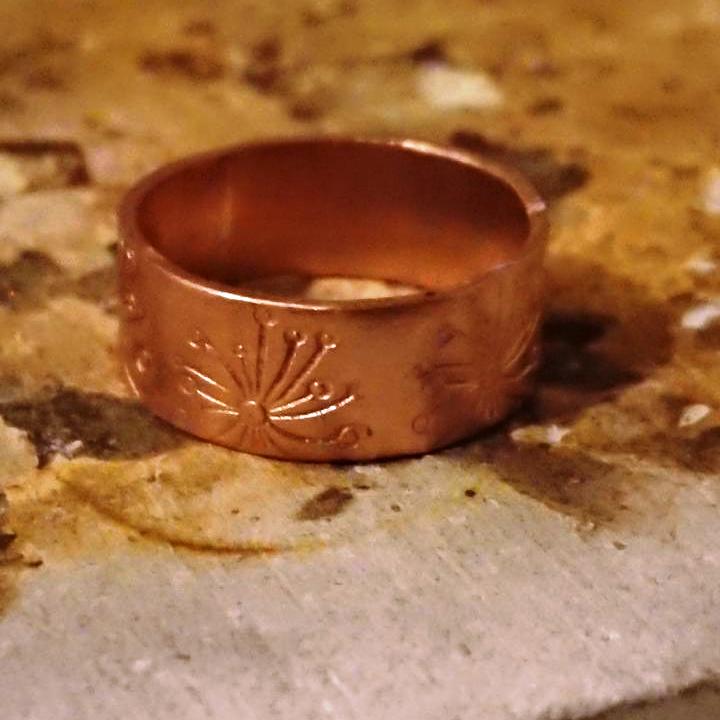
This is how the final ring looked:
I admit for my first attempt at ring making, I learnt a lot of valuable and extremely painful lessons along the way, but that is all part and parcel of the learning process, but on the whole I am pleaseed and proud of myself, but the real test is did I create the right size?
Remember that the ring was designed for my size 4.5 left hand small finger....
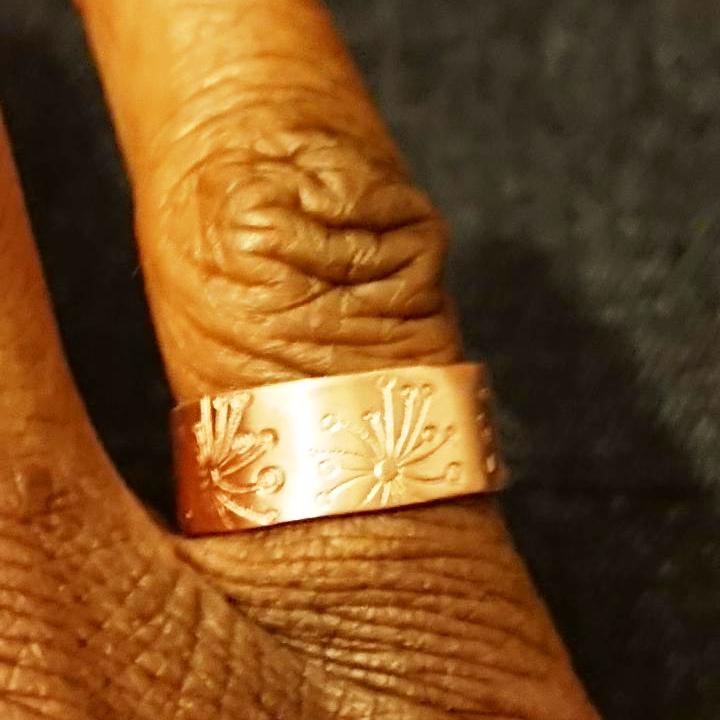
Well as you can see the final handmade dandelion stamped copper ring fits perfectly on my right hand little finger, as the ring was a size 5, so slightly too big for my left hand little finger.
Luckily my right hand is slighly bigger than my left hand.
I guess it is back to the drawing board
I would really love to hear your thoughts, so post something in the comments below:
Until next time
Joolz xxx
0 Comments


